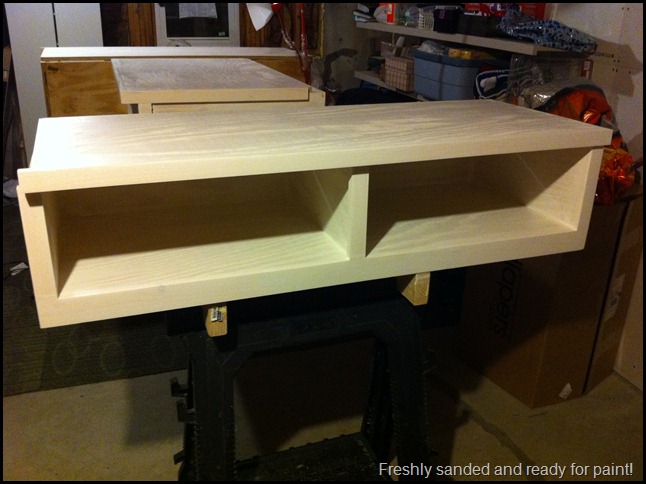
Well after hitting the boxes and tops with 60-grit, 100-grit, and 150-grit sand paper it’s is safe to say that my garage was covered in a good layer of pine dust! After brushing the dust off of the boxes and hitting them with a shop vac it was time to move the boxes into the basement where the temperatures are a little more kinder for painting!
Once in the sub-tropical climate of the basement the wife and I hit all the boxes and tops with a tack cloth. This is a step that my wife can clearly do without as I was reminded several times. It has something to do with the tacky feel of the tack cloth…
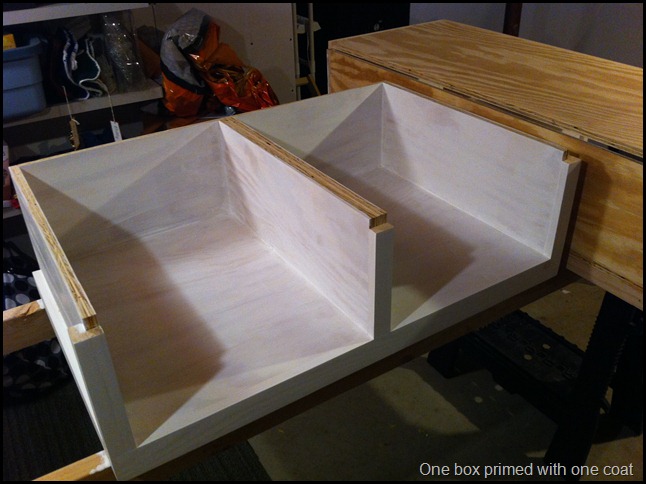
With everything set-up and ready to go we are ready to prime. I do the cutting-in and the boss does the rolling. Two hours later and we are complete.
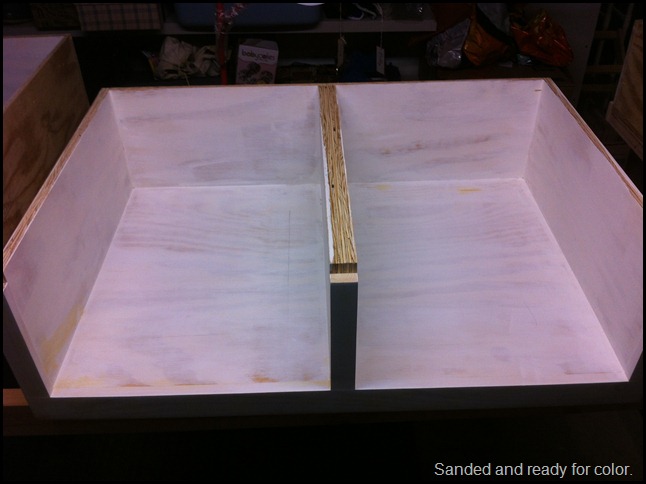
With the primer dry we relocate all of the boxes back to the garage for a final pass with wood putty for any shrunken nail holes or imperfections that were previously missed. Once the putty dries, I it everything with 220-grit sand paper for once final sanding to level out any new wood putty or raised grain that the primer may have caused. With everything brushed off and vacuumed its back to the basement for some color.
It’s important to note that we have decided not to add the drawers. This is causing us to pay closer attention to the inside of the boxes now that they will be visible and more readily accessible to our little guy’s hands and feet. Now everything gets painted which is a chore but it could have been a lot worse if I had nailed the tops on rather than left them removable with screws.
The next step is to break out the gallon of red paint and hope she covers easily!


