It been a little while since the last sugaring update. Between the cold weather and work it’s been tough to get out and get things set-up and ready for this season. I did manage a trip to Bascom’s for some tubing supplies yesterday and managed to hang a couple lines. With any luck I can finish some things up this week as it looks like the weather may be ready for tapping next week.
I just happened to check my syrup supply from last season and found that I was down to two 12 ounce bottles, and since we are only a couple weeks away from the 2013 sugaring season I figured I could spare some of my emergency syrup supply for a tasty experiment.
I have been reading a fair amount of posts lately about people making maple nuts, and supposedly how awesome they are, so I figured we needed to give it a shot here at the house.
I used all the info from a post on the Maple Trader forum titled “Maple Nuts for Beginners”. I found post #28, to be the most helpful and I followed Dennis H.’s instructions to make our first batch of maple nuts.
The recipe copied from Dennis H.’s post on Maple Trader:
This is how I do it and I haven’t had an issue yet.
I use 6oz of syrup per pound of nuts.
I put the nuts on a cookie sheet and place in oven at 190.
While the nuts are warming in the oven I boil the syrup.
I boil the syrup to 240 degrees as to the Taylor candy thermometer that I use.
Once the syrup gets to 240 I dump all the nuts into a large SS bowl.
I then pour the syrup over top of the nuts and start to stir. Once they are coated I will sprinkle on salt if needed.
I continue to stir. It will be still glossy and gooey, keep stirring.
You will start to see it turning to a dryer look, keep stirring.
I keep stirring until there is very little glossy look on any nuts. They should now be loose and not in large clumps.
There will still be a few small clumps of I’d say 4-5 peanuts.
I then pour this all back onto the cooking sheet and place back into the oven.
I turn the oven off and let them in there to cool.
I have to say maple coated nuts is one of the easiest things to make, and they taste great to boot!
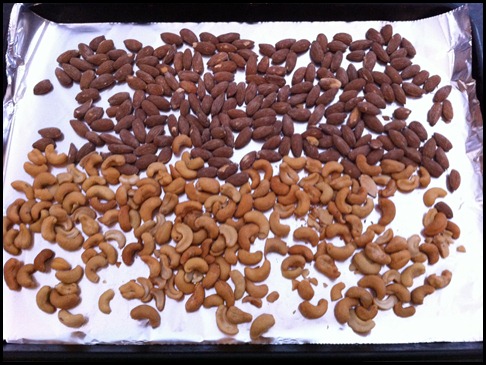
0. I had just gone to the grocery store and picked up a small bag of almonds, and a tin of cashews, because I hate almonds. Everybody loves cashews! As luck would have it I had picked up a 7 oz. bag of almonds and the tin of cashews was 8.5 oz., so I was just a hair under the 16 oz. of nuts required for Dennis’s recipe.
1. First, I preheated the oven to 190F and put a cookie sheet lined with foil and the nuts inside the oven to warm up while I was boiling the syrup.
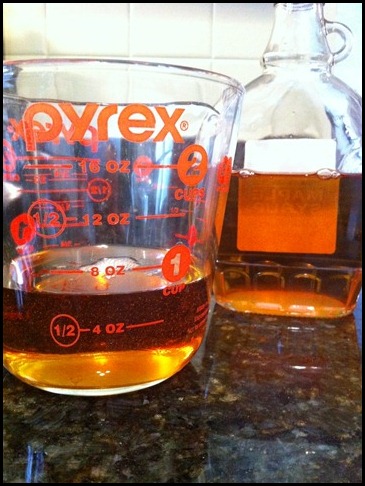
2. Next, I measured out, by eyeball, 6 oz. of the “finest” syrup we made last season. Shameless plug!
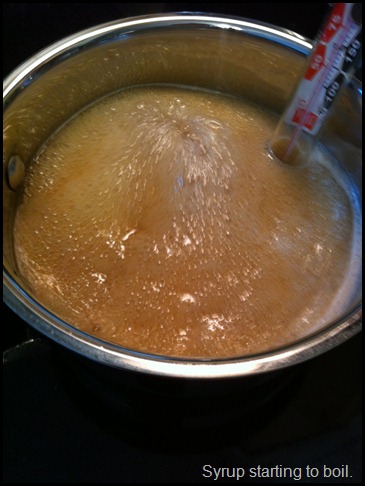
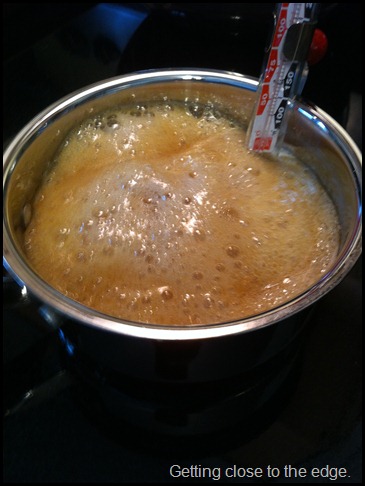
3. Next, I brought the syrup up to a boil, which requires a lot of attention to prevent a boil over. It took several minutes of adjusting the temperature on the stove and how much of the saucepan was over the coil on the cooktop to find a happy medium where the syrup was boiling, and the was temperature increasing, but not boiling over and creating a sticky mess.
4. I didn’t keep track of the time it took to reach 240F, because I was quite busy making sure the syrup did not boil over on to the wife’s cooktop, causing me many hours of agony… As you can see I was using a small pot, so I had enough depth of liquid to stick my thermometer into, and most of the time the frothy syrup was within a 1/2” of the top of the pot.
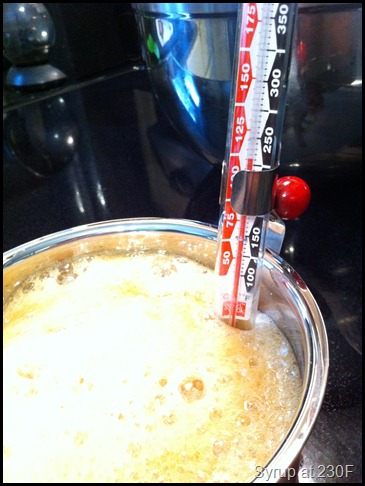
5. At 230F, and less than 10 degrees left to go I started to prep the wife that I was going to need her doing a bunch of things stat! Two sets of hands really made this process easier and definitely make sure you have everything ready to go before you start boiling your syrup.
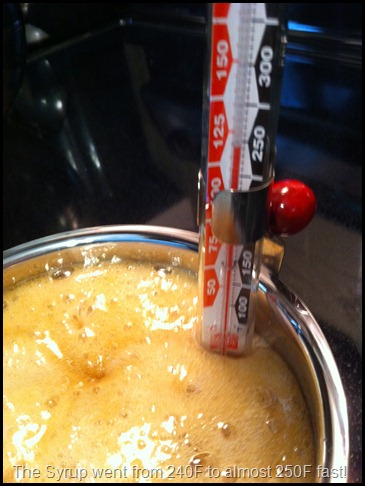
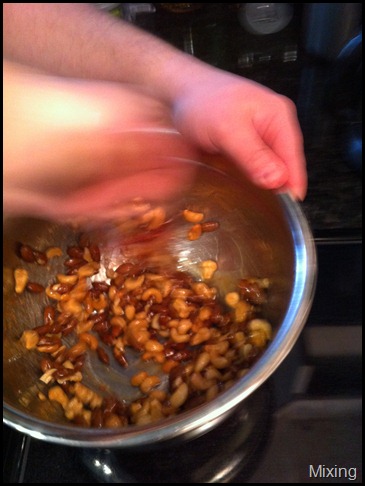
6. At 240F, I screamed for the boss to get the nuts out of the oven and into the metal mixing bowl pronto. I dumped the syrup mixture onto the nuts and began to stir rapidly. The stirring took longer than I expected, but you will definitely know when to stop.
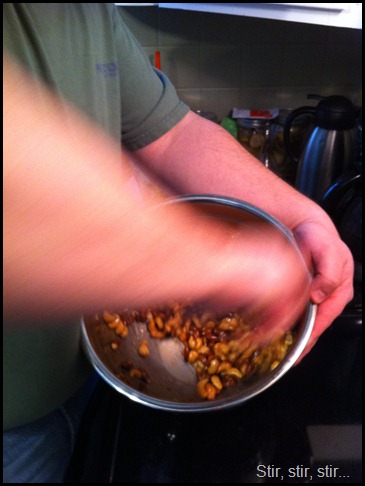
7. Stirring…
8. More stirring…
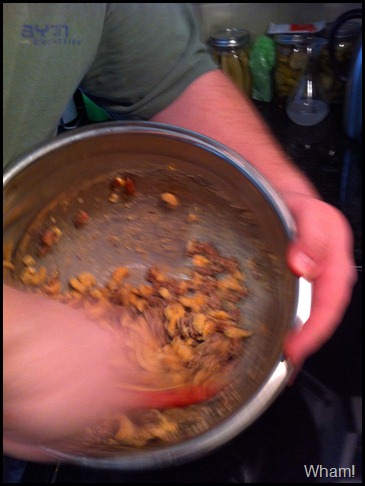
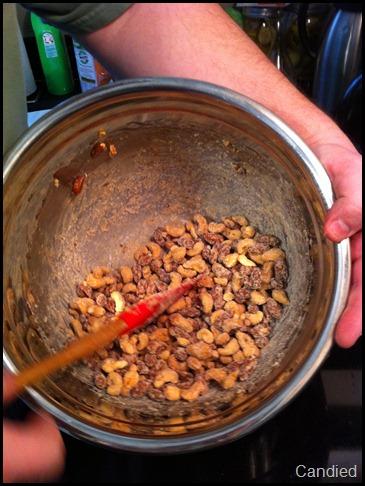
9. More stirring and than wham, all of sudden the wet syrup mixture sugars! Call me crazy but this step happened in like an instant. I kept stirring to make sure everything had crystallized.
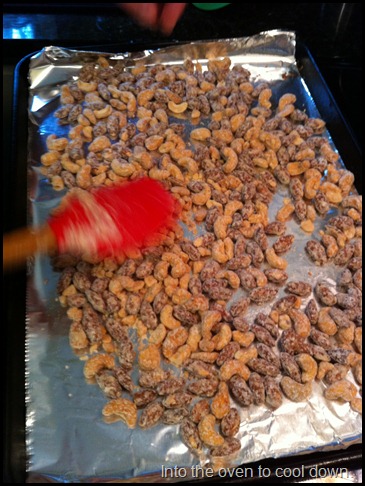
10. After making sure everything was well stirred and all of the nuts were coated, I put them onto the cookie sheet in an even layer, shut the oven off, and put them back into the oven to cool down.
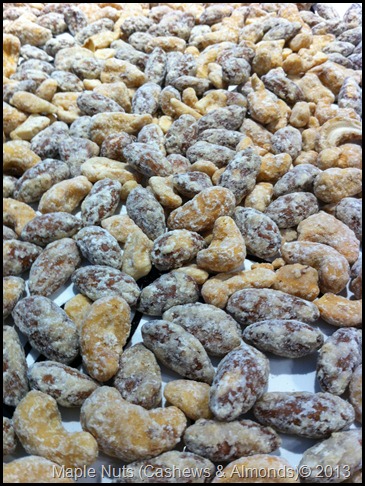
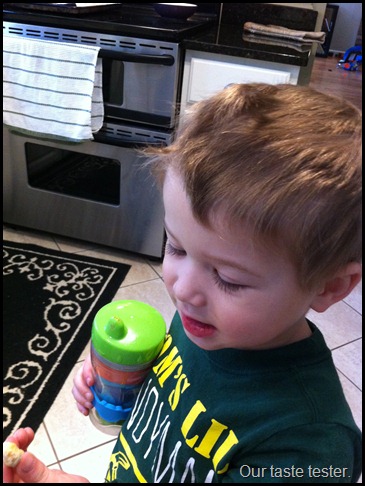
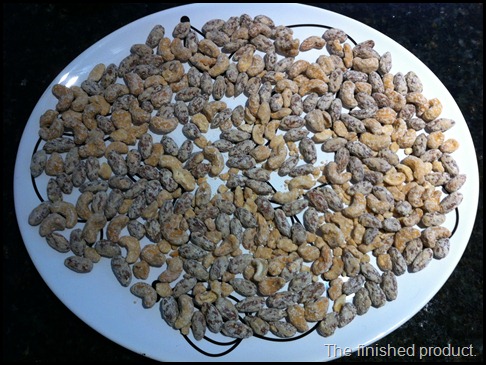
11. After leaving them in the oven that was turned off for about 30 minutes we pulled them out and asked our most finicky eater to try them. Of course, he loved them. The almonds were awesomely crunchy and sweet. The cashews were good but a little softer than the almonds, so next time I think we will go with almonds & peanuts!

2 comments on “Sugaring 2013 – Maple Nuts”