Assembly of our garden bench continued this morning. I continued to follow the plans mentioned in my earlier post, but given my realization that everything on the internet may not be true, I took a little more time laying things out rather than trusting measurements provided by the original site.
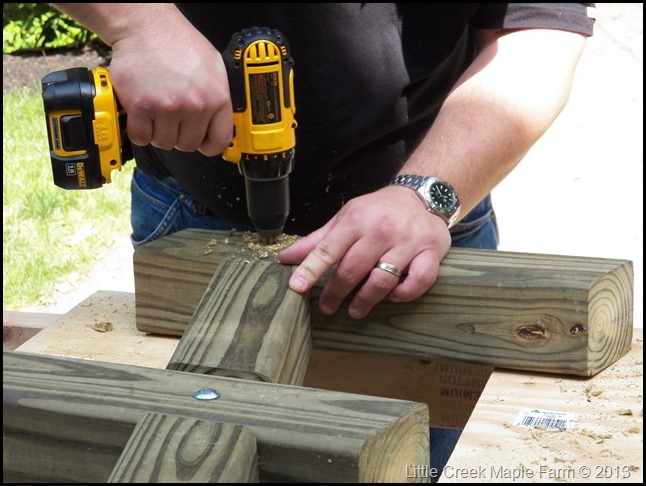
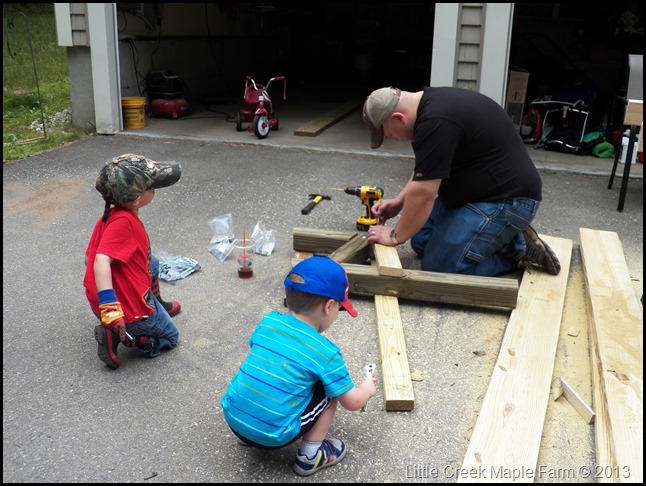 With an iced coffee almost complete and my two helpers chomping at the bit to hammer things we were off and running. The first step was to drill a pilot hole for the the 3/8” carriage bolts that would hold the legs together. I did each joint separately making sure everything was tight and set the way I wanted it prior to drilling.
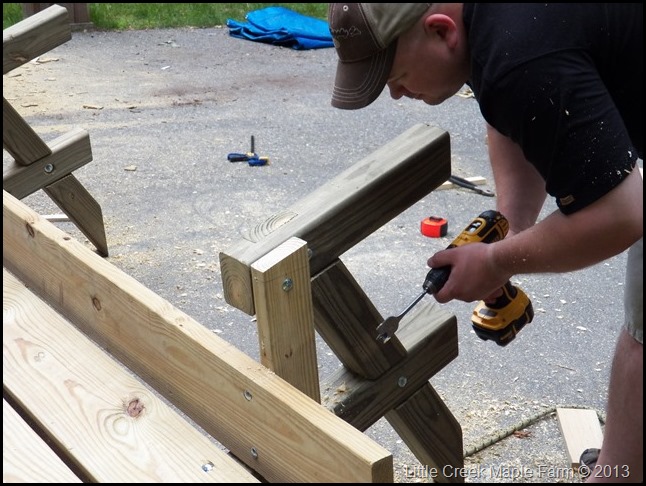
After drilling the 3/16” pilot hole through the joint, I flipped the leg assembly over and used a 1-1/4” spade bit to drill a counter bore that was about 1/2” deep. The purpose of this counter bore is so that the bolts, nuts and washer will be recessed in the wood and not protrude out from the face of the 4×4’s. With the counter bore complete I than drilled through the pilot using a 3/8” bit which is the same diameter of the carriage bolts.
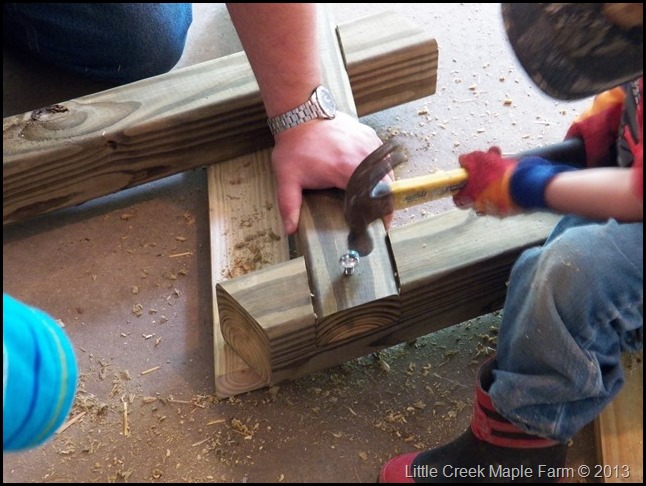
Once the drilling for a single bolt was done we drove the carriage bolt in, flipped the leg assembly over and place a single washer and hex nut on the bolt.
The 1″-1/4” spade bit gives just enough room for the washer and the nut. It’s also the widest bit you want to use because you will eventually be counter boring on the 2x stretcher for the seal which is 1-1/2” thick so it gives you solid 1/8” of material on the sides of the counter bore.
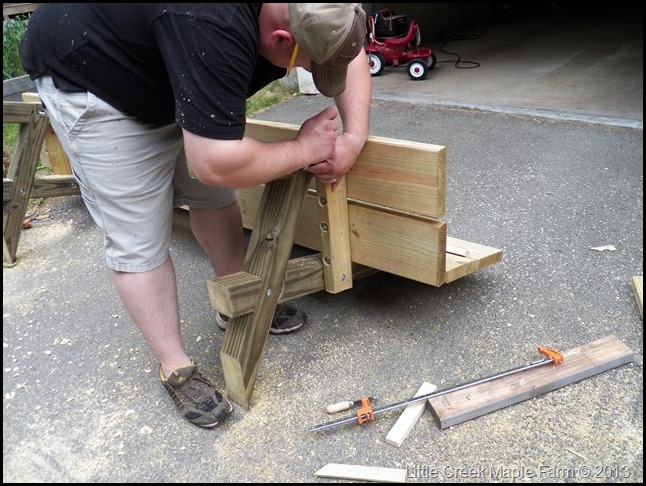
There was a lot of drilling, hammering, and fire trucking on this project. With the legs bolted together I got to work on the seat. I mocked up the bench prior to drilling any holes to get the space of the 2×8’s on the seat and back part of the bench. I started with the first board of the seat pushing it to to the seat back 4×4’s. with that in place I took some 3/4” scrap boards I had laying around and arbitrarily chose that as my spacing between the boards. I laid the entire bench out with 3/4” gaps and liked the look so we started drilling using the same process as above.
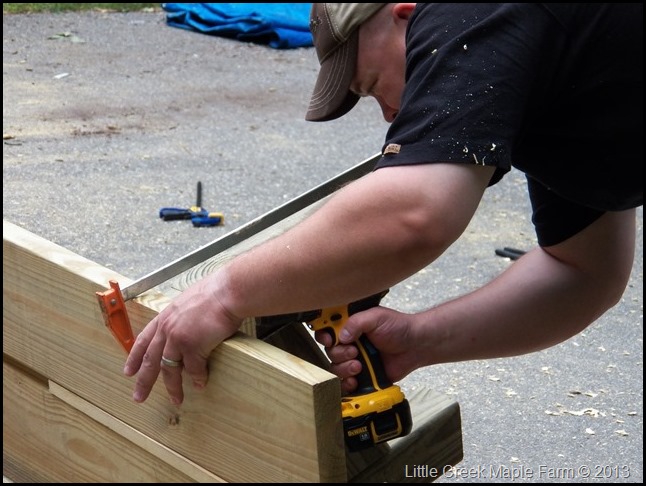
First drilling a pilot hole through the lumber.
Than a counter bore with the spade bit.
Next drilling the full diameter of the carriage bolts (3/8”).
None of my drill bits were long enough to go all the way through the 2×8, I think I had a max depth of about 4”, so I then had to unclamp the 2×8 move it out of position and finish the 3/8” hole going only though the 2×8 like in the photo below.
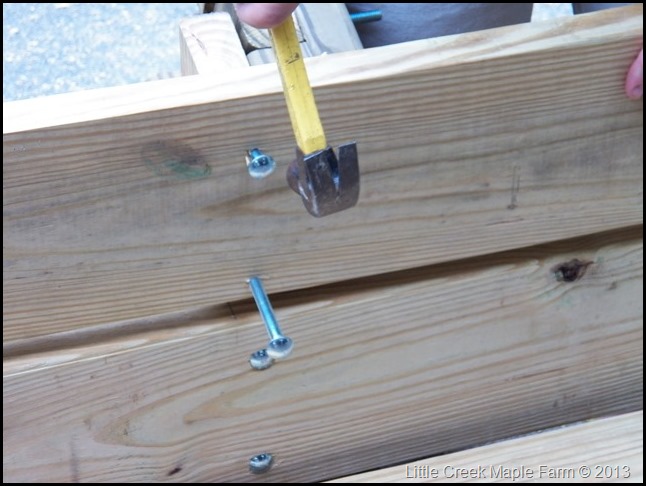
When all the holes were drilled I simply tapped the 4” carriage bolts into the 2×8 hammering one bolt on each end about a 1/2” beyond the 2×8. This allowed me to align the bolts with the holes I drilled and a few quick taps and the 2×8 was in position.
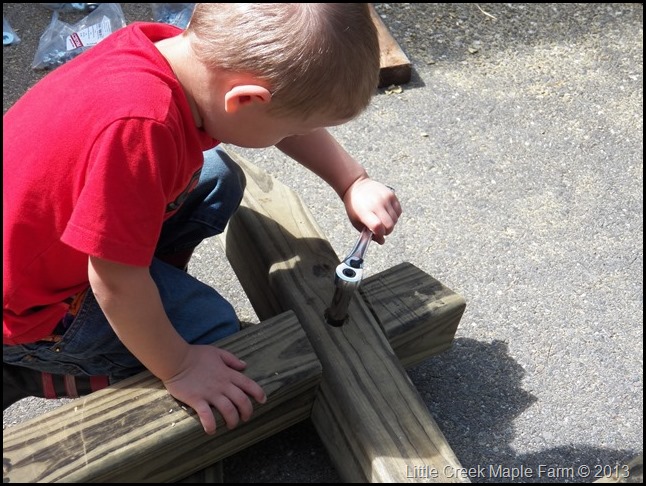
Flipping the bench over it was a simple matter of placing a washer on the bolt and tightening the nut.
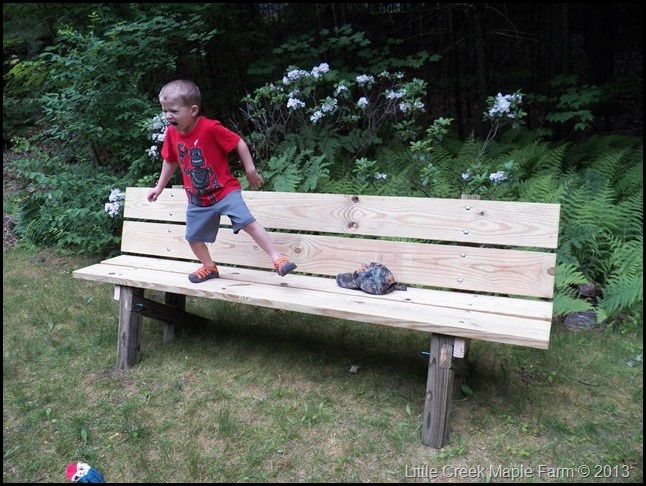
This is a sturdy heavy bench that serves as a jumping off platform and should hopefully last a long time…





Pingback: Garden Bench 3.0 « Little Creek Maple Farm