We got an early start to the day this morning, the kids were up at 5:30AM and ready to go. We hung around the garden a bit weeding waiting 7:00AM to hit so we could fire up the power tools. I guess I was trying to be neighborly. Anyhow we had picked up the lumber and hardware needed to make the garden bench on Friday night in preparation for a project weekend! From my original post you can get a link to the website where I found this totally fab garden bench. One word of caution, I think the 30-degree angle on one of the pieces is off. If you read the instructions you will know which piece I am referring to.
Today’s goal was to get all of the wet 4×4’s cut. Try and get square edge 4×4’s if you can. My wonderful Lowe’s only had 4×4’s with the radiused edges which made it a little more time consuming in laying out the notches.
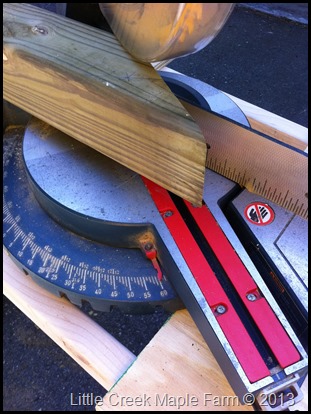
Each 8’ 4×4 will have enough length to make one side of the bench frame. I just started at one end making the 30-degree cut first (which I think should be something different) and then you next piece is and 18” long 4×4 with two 15-degree angle cuts on it, followed by your last piece which is 36” long with a simple straight cut. These water logged timbers can be heavy. So its good to have a little help!
With the 4×4’s cut for each bench I laid the front leg and rear leg down on my garage floor against a straight edge (one of the 2×8’s) and separated them 11” apart. When I laid the cross member with the 30-degree angle cut on top of the legs I discovered that the 30-degree angle does not quote work as advertised so I had to slightly tweak the location where the cross member hits the front leg in order to make all of the legs line up. I made all of my cuts on a 10” sliding compound miter saw so I am pretty sure my angles are close. With the cross member on top of the legs you simply mark the notches with a pencil as shown on the web site. I used my speed square to help get amore accurate marking because of the rounded corners of the 4×4’s.
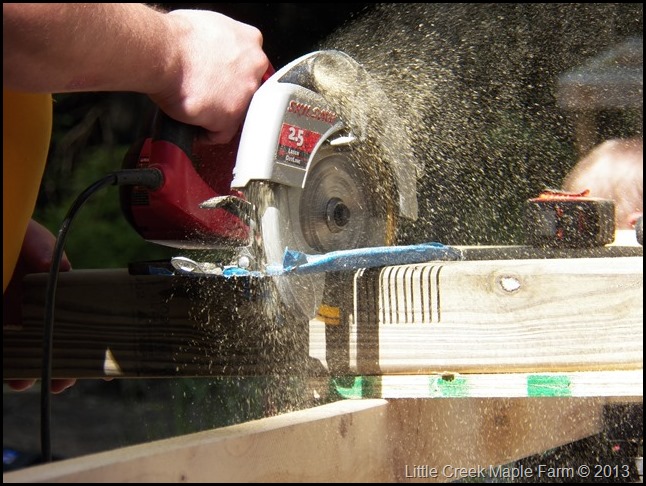
With the marks made its back to the bench to begin notching the 4×4’s. I used a circular saw, setting the depth of the saw to 1/2 the thickness of the 4×4. I made the left most & right most cuts first and then tried to space all the interior cuts to within a 1/4” or less of each other.
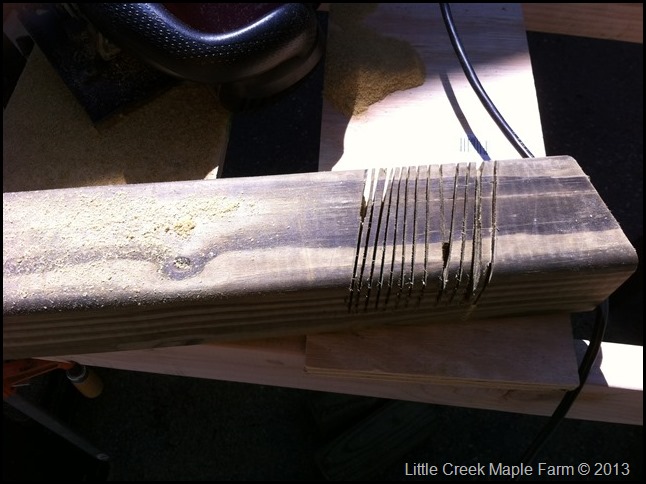
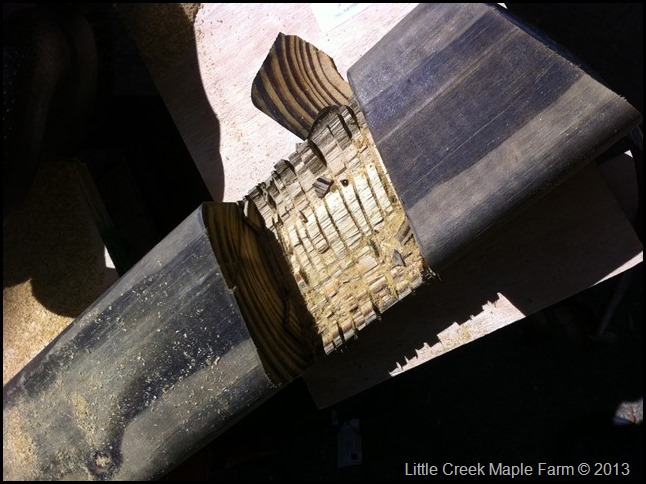
Below is a top view of what you get after you made the cuts, it does look a little un-neat, but it cleans up easily with a sharp chisel and a rasp.
With the grooves cut I turn the pre-notched pieces over to my assistant for the waste removal.
For those hard to pop out scraps we found that a small shovel does the trick!
With the bulk of the waste removed you are left with the rough cut masterpiece below.
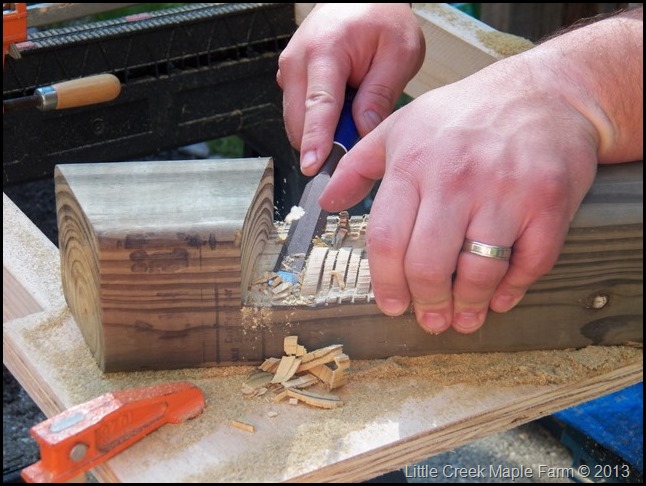
It looks like a ton of work to clean up but it just looks a lot worse than it is. Clean up is a couple minutes with a good “sharp” chisel! The pressure treated pine cuts real easily.
More clean-up. I did all of the notches on one side prior to test fitting and fine tuning the joints.
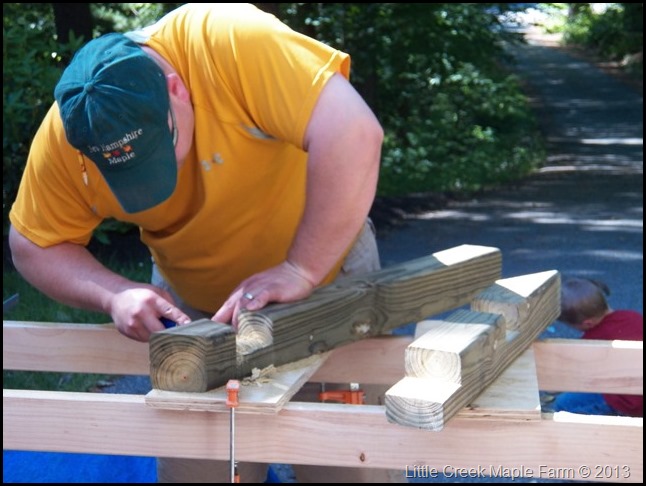
My assistant test fitting a couple of the 4×4’s.
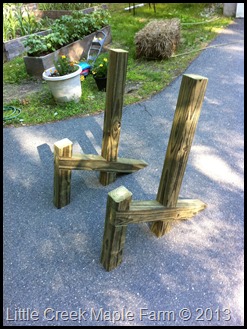
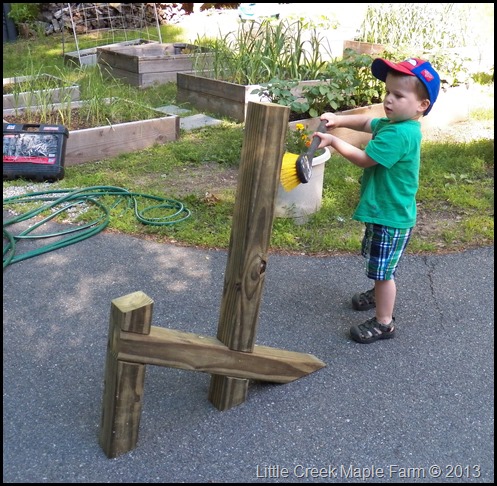
When all of the joints are fine tuned, just hammer the thing together and stand it up for the final step…The brush down.
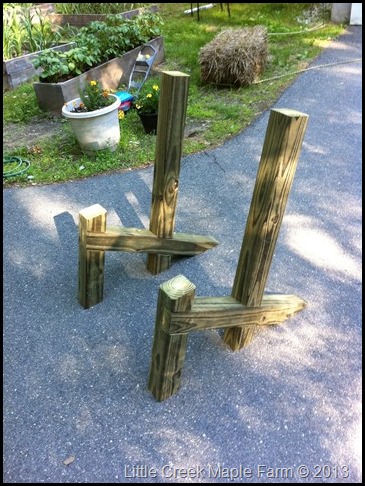
Strangely enough we found that these make great seats on their own.
With what I would guess is the most challenging part of this project complete I decided to call it quits until tomorrow. Next up is bolting the sides together and adding the seat bottom and back. Maybe tomorrow.






Pingback: Garden Bench 3.0 « Little Creek Maple Farm